okay...okay...she's also a bit of a dork. I couldn't help it. I have to start by telling you that I am not a very creative person. Or...at least...I wasn't until I discovered Pinterest. I still can't come up with brilliant craft ideas on my own and I still think that people who scrapbook for fun are a little weird. BUT! I have discovered that with the right
pinspiration...I can come up with some pretty cool ideas. For example: this weekend I made an Easter wreath. I love wreaths, and I want to eventually have one for every season. I have one for Halloween, Thanksgiving, Christmas and now...Easter. YEA! I got my inspiration from a blog that I follow,
Little Birdie Secrets. But here's the thing...I really like the idea, but I wanted something of my own.
Bear with me...I'm learning as I go.
My First How-To:
What you'll need:
- wreath form
- Haute Fur yarn in cypress
- plastic Easter eggs
- hot glue
- 4 year old assistant--optional
and like a dummy, I didn't take a picture of everything together. It's not rocket science. Go buy the stuff now...Hobby Lobby. (not the four year old, that's illegal)
 |
| This is the yarn that I bought. Yes, it says 93 yards. |
 |
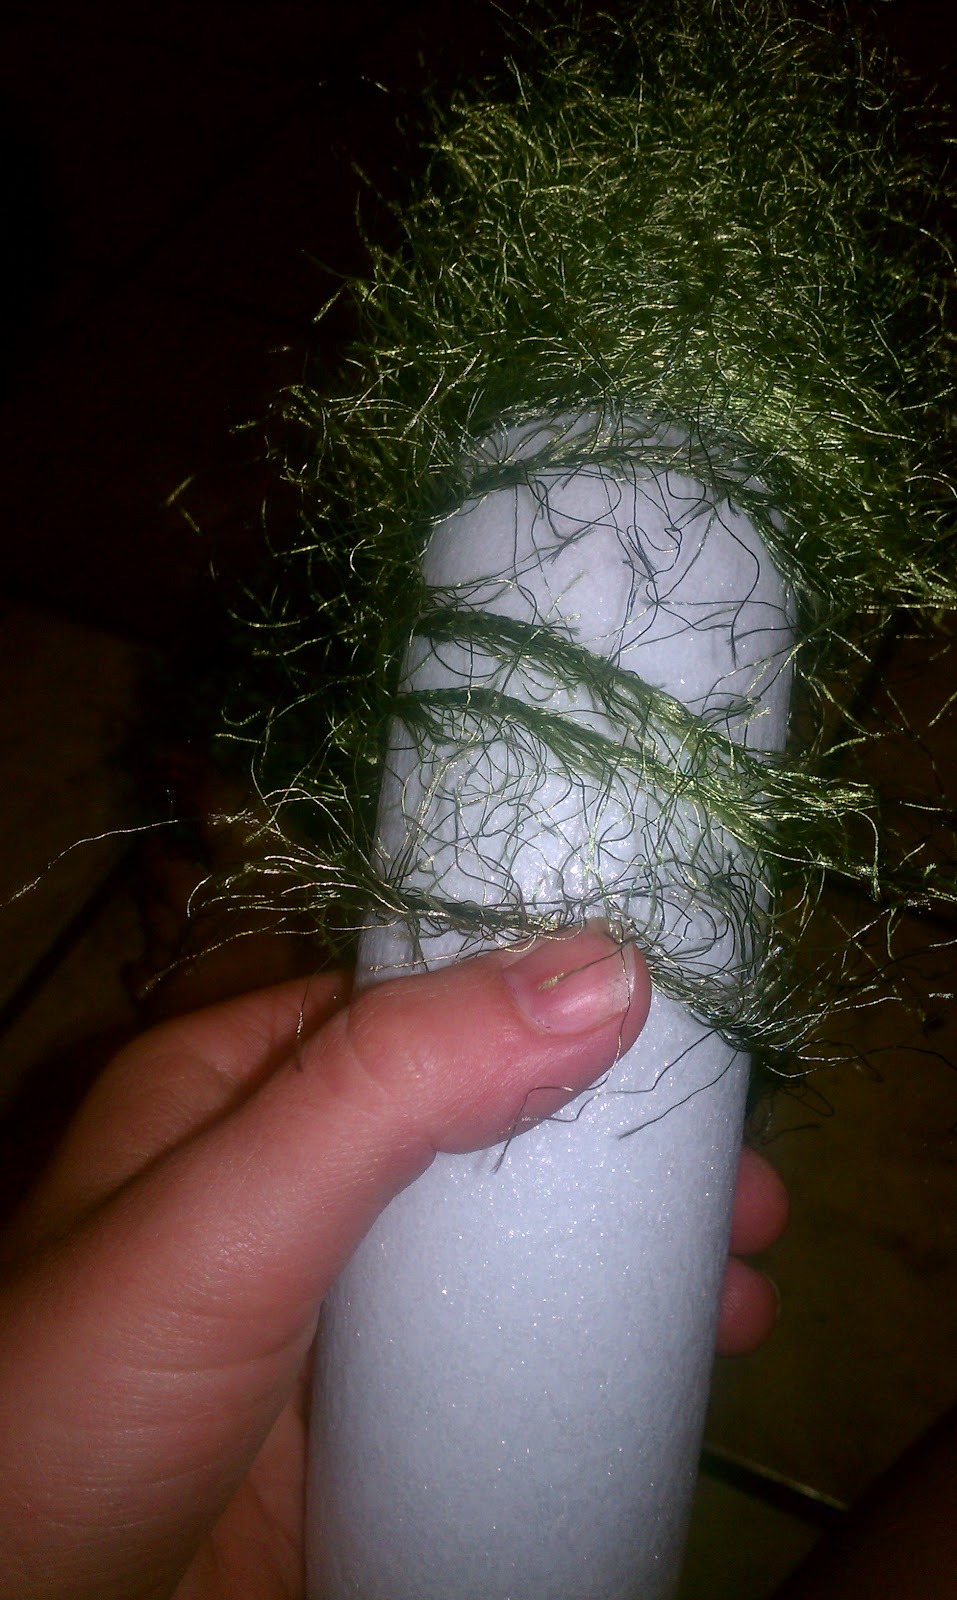
| Start wrapping the yarn around the wreath form. I did use a little bit of modge podge to start it off, but elmers glue or your hot glue would work too. |
 |
| As you wrap, push the yarn together. (Don't push too much, you'll see why soon) I would go around 3-4 times and push. |
 |
| Begin to doubt that you bought enough yarn. |
 |
| Have your assistant put the plastic eggs together. He was supposed to glue them, but we ended up not needing to. |
 |
| WHEW! Half way done. |
 |
| When you get tired of wrapping, have your assistant help you wrap it. |
 |
| Finish and say, "Oh,oh." Then very gently spread the yard apart to cover the naked part. (see?) Take note of your need for a pedicure. |
|
|
Here, I forgot to take pictures, but one egg at a time, use your hot glue and glue the eggs to the wreath/each other. I started at the bottom and then moved my way up. I put the eggs over the area that was once naked.
 |
| Ta-da! A whimsical, fuzzy, Easter wreath! |
So...before you begin your own...please learn from my mistake and don't get over zealous with the pushing up of the yarn, it's fluffy so it does a really good job covering the wreath form. You still probably want it all to touch, but it doesn't need to overlap.
This was totally WAY too easy! And, the finished product is a-dorable! I spent less than $20 to do this and was done in no time! AND...if you've got an assistant...it's a great time to sit down on the kitchen floor and bond.
Good luck!!


Janet, it turned out great. What a great little helper!
ReplyDelete